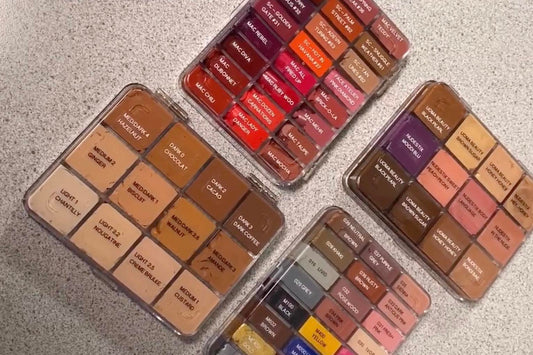
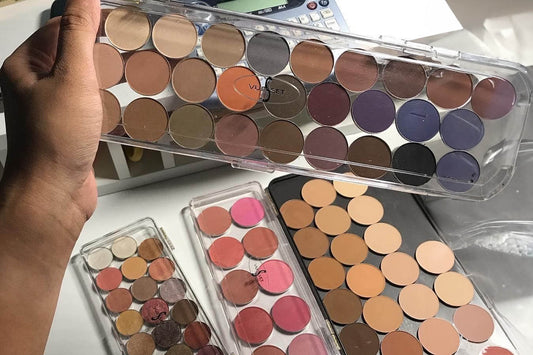
So, you’re ready to depot, and you have your products in hand. Before diving in, take a moment to arrange everything and think about how you want your palette to look. Consider organizing your shades from light to dark or in a way that makes the most sense for you. Also, make sure to sanitize both your depotting spatula and the container with rubbing alcohol to maintain product integrity and hygiene during the process.
@mack.robidoux.hair
Step 1: Visualize your Palette
If you tend to think visually, consider swatching your products on paper first. It may take a little extra time, but this step helps you commit to a layout and avoid mistakes later. Swatching also gives you a clear idea of how the shades will appear together in your final palette.
@kathleenkarridene
Step 2: Choose your Spatula wisely
Now that you've chosen your depotting order, the real fun begins! Start by selecting the right makeup depotting spatula—one with enough flexibility to easily press the product into the corners, and a width that closely matches the palette's well. This minimizes strokes and ensures smooth, precise product application.
@jaycee.beauty
Step 3: Aim for the corner.
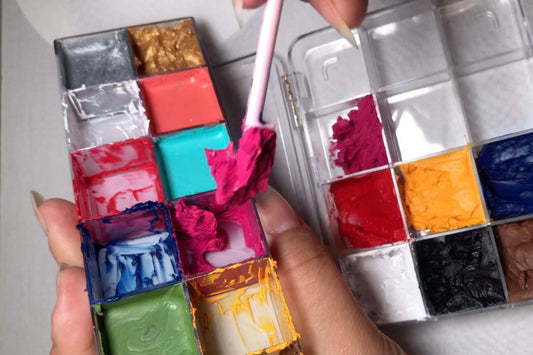
With your tool in hand, it's time to experiment and discover the depotting method that works best for you. There’s no one-size-fits-all solution, so don’t hesitate to explore and find the approach that fits your style. If there’s one key takeaway from this, it’s the importance of getting into the corners—ensuring no air bubbles are trapped. Below are some popular depotting techniques to help you get started.
Depotting Techniques
@depotchopra
Pop 'n Press
Slice off the top of your lipstick using the edge of your spatula and press firmly into the well's corners to avoid air pockets. Before you cut, hold the lipstick bullet over the well to estimate how much will fit. If there's room, scoop out any remaining product from the tube to maximize what you can store.
@recapture_beauty
Bend 'n Snap
Depending on the firmness of your lipstick, you may be able to snap the bullet directly into the well, using the well's bottom edge as a cutting guide. Then, use your spatula to press the remaining product neatly into the well.
@glowbykt
Tug 'n Twirl
If your lipsticks are firm enough, use a paper towel to grip and pull the entire lipstick bullet out of the tube. This method isn’t recommended because if you pull out more product than the well can hold, you’ll end up overcommitting and wasting the excess product.
@beautybysarie
Prep 'n Melt
If you want a smooth, polished look for your palette, you can add an optional step by melting your solid-based products over a spoon and candle. However, proceed with caution—while tube lipsticks are generally formulated for melting, not all products will respond well to heat. Be mindful that melting is done at your own risk, as some formulas may not cooperate.
@yessicaportelli.mua
Smash 'n Grab
A depotting technique that involves an intermediary step using a mixing palette to crush your makeup product before applying it into a well. While this method gives you more control over the texture, it’s more time-consuming as you'll need to clean the mixing palette between each shade. Whenever possible, we recommend depotting products directly into the wells to save time and maintain product integrity.

 @glfacestudio
 @johnnytmakeup


